Readiness walk, room by room
Read more
Walk every space with the general contractor before confirming the install date. Readiness should be judged room by room, because a lobby can be finished while the clubroom next to it is still being painted. Repeat a short walk the day before delivery. Schedules move, and a room that was ready last week may now hold a punch crew, a ladder and wet paint. If a space fails the walk, shift its product to a later load rather than stacking it in a corner.
- Flooring complete and cured, with no remaining wet trades in the room.
- Paint and wallcovering complete, including touch-up, so art can be hung without rework.
- Ceilings closed and decorative lighting working where placement depends on it.
- Power and data live at the locations the furniture plan relies on.
- Construction cleaning done, or scheduled before product arrives.
- A named contact who can decide field questions on the owner's behalf.
Access, elevators and delivery windows
Read more
Confirm with the general contractor or property manager where trucks unload, which doors and corridors can be used, whether the elevator needs to be reserved or padded, and what hours deliveries are allowed. Urban sites and occupied buildings often have tight windows and shared loading areas, so book them early.
Measure the path of travel for the largest pieces: door openings, corridor turns, elevator cab depth and any stairs. A sectional that fits the room still has to fit the route. If a piece will not make it, the time to find out is during planning, when it can be ordered in sections or swapped, not with the truck at the curb.
Plan the delivery window around the whole sequence: unloading, check-in against the delivery list, moving to rooms, assembly, placement and debris removal. A delivery booked as a simple drop-off leaves the crew short of time.
Protection and staging
Read more
Before any product moves, protect what is already finished: floor protection along the route, corner guards on walls and elevator cabs, and door frame protection where large pieces pass. Agree with the contractor on who supplies and removes the protection.
Set up a staging area, ideally a room that will not be furnished until last or a covered area near the loading point. Sort product by room or zone as it comes off the truck so crews are not searching through mixed cartons. Keep hardware bags with their pieces and label anything that arrives in multiple cartons. Check each load against the delivery list as it comes off the truck, so a missing carton is noticed while the driver is still there and can be noted on the paperwork.
Placement day
Read more
Crews need a set of documents and one person who can make decisions. Give the install lead the furniture plan, the item list by room with tag numbers, room labels and any notes on orientation, spacing or assembly.
- Assemble to the manufacturer's instructions and check stability before placement.
- Place large pieces first, to plan, then adjust for real clearances, sightlines and door swings.
- Check clearances along accessible routes after furniture is set.
- Leave cords and chargers routed and tidy where furniture meets power.
- Hang art and mirrors only after the furniture below them is final.
- Log damaged, missing or wrong items on the punch list as they are found.
Styling, art and accessories
Read more
The final layer, which includes art, mirrors, lamps, pillows, throws, planters and tabletop pieces, takes longer than most schedules allow. Art has to be checked against wall conditions, blocking, lighting and the furniture below it. Accessories should finish the room without leaving clutter for the property team to dust or lose.
Model units usually need more merchandising detail, while amenity spaces call for fewer, sturdier accessories that survive daily use. This is the part of the install where a designer on site matters most, because composition, scale and balance are judgment calls a delivery crew should not be asked to make.
Punch list, cleanup and debris removal
Read more
Write the punch list while the crew is still on site. Each item should say what is wrong, where it is and what happens next: a field fix, a vendor claim, a reorder or an owner decision. Typical entries include missing pieces, damage, wrong finishes, wobbly or unstable furniture, incomplete assembly, art that needs adjustment and touch-up.
Debris removal is part of the scope. Cartons, foam, plastic wrap, pallets and hardware scraps pile up fast. Confirm in advance where trash goes, whether the building has dumpster or recycling rules, and which packaging must be kept for a damage claim. The owner should be able to walk a clean space and see exactly what is complete and what is pending.
Photography and closeout
Read more
Schedule photography after the final styling pass and punch corrections, so leasing and marketing photos show the finished room.
The closeout package gives property management what it needs to maintain the space:
- Final item list by room, with vendor, finish and fabric information.
- Care and cleaning instructions and any warranty documents vendors provide.
- Attic stock list and where it is stored on site.
- Field changes made during install, such as art moved to avoid a thermostat.
- Open punch items with owners and expected resolution.
Installs Level Up Interiors has completed
Read more
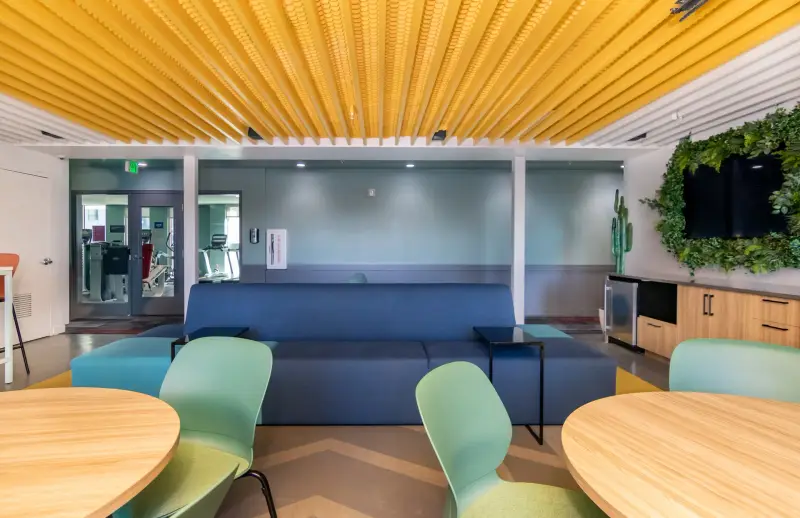
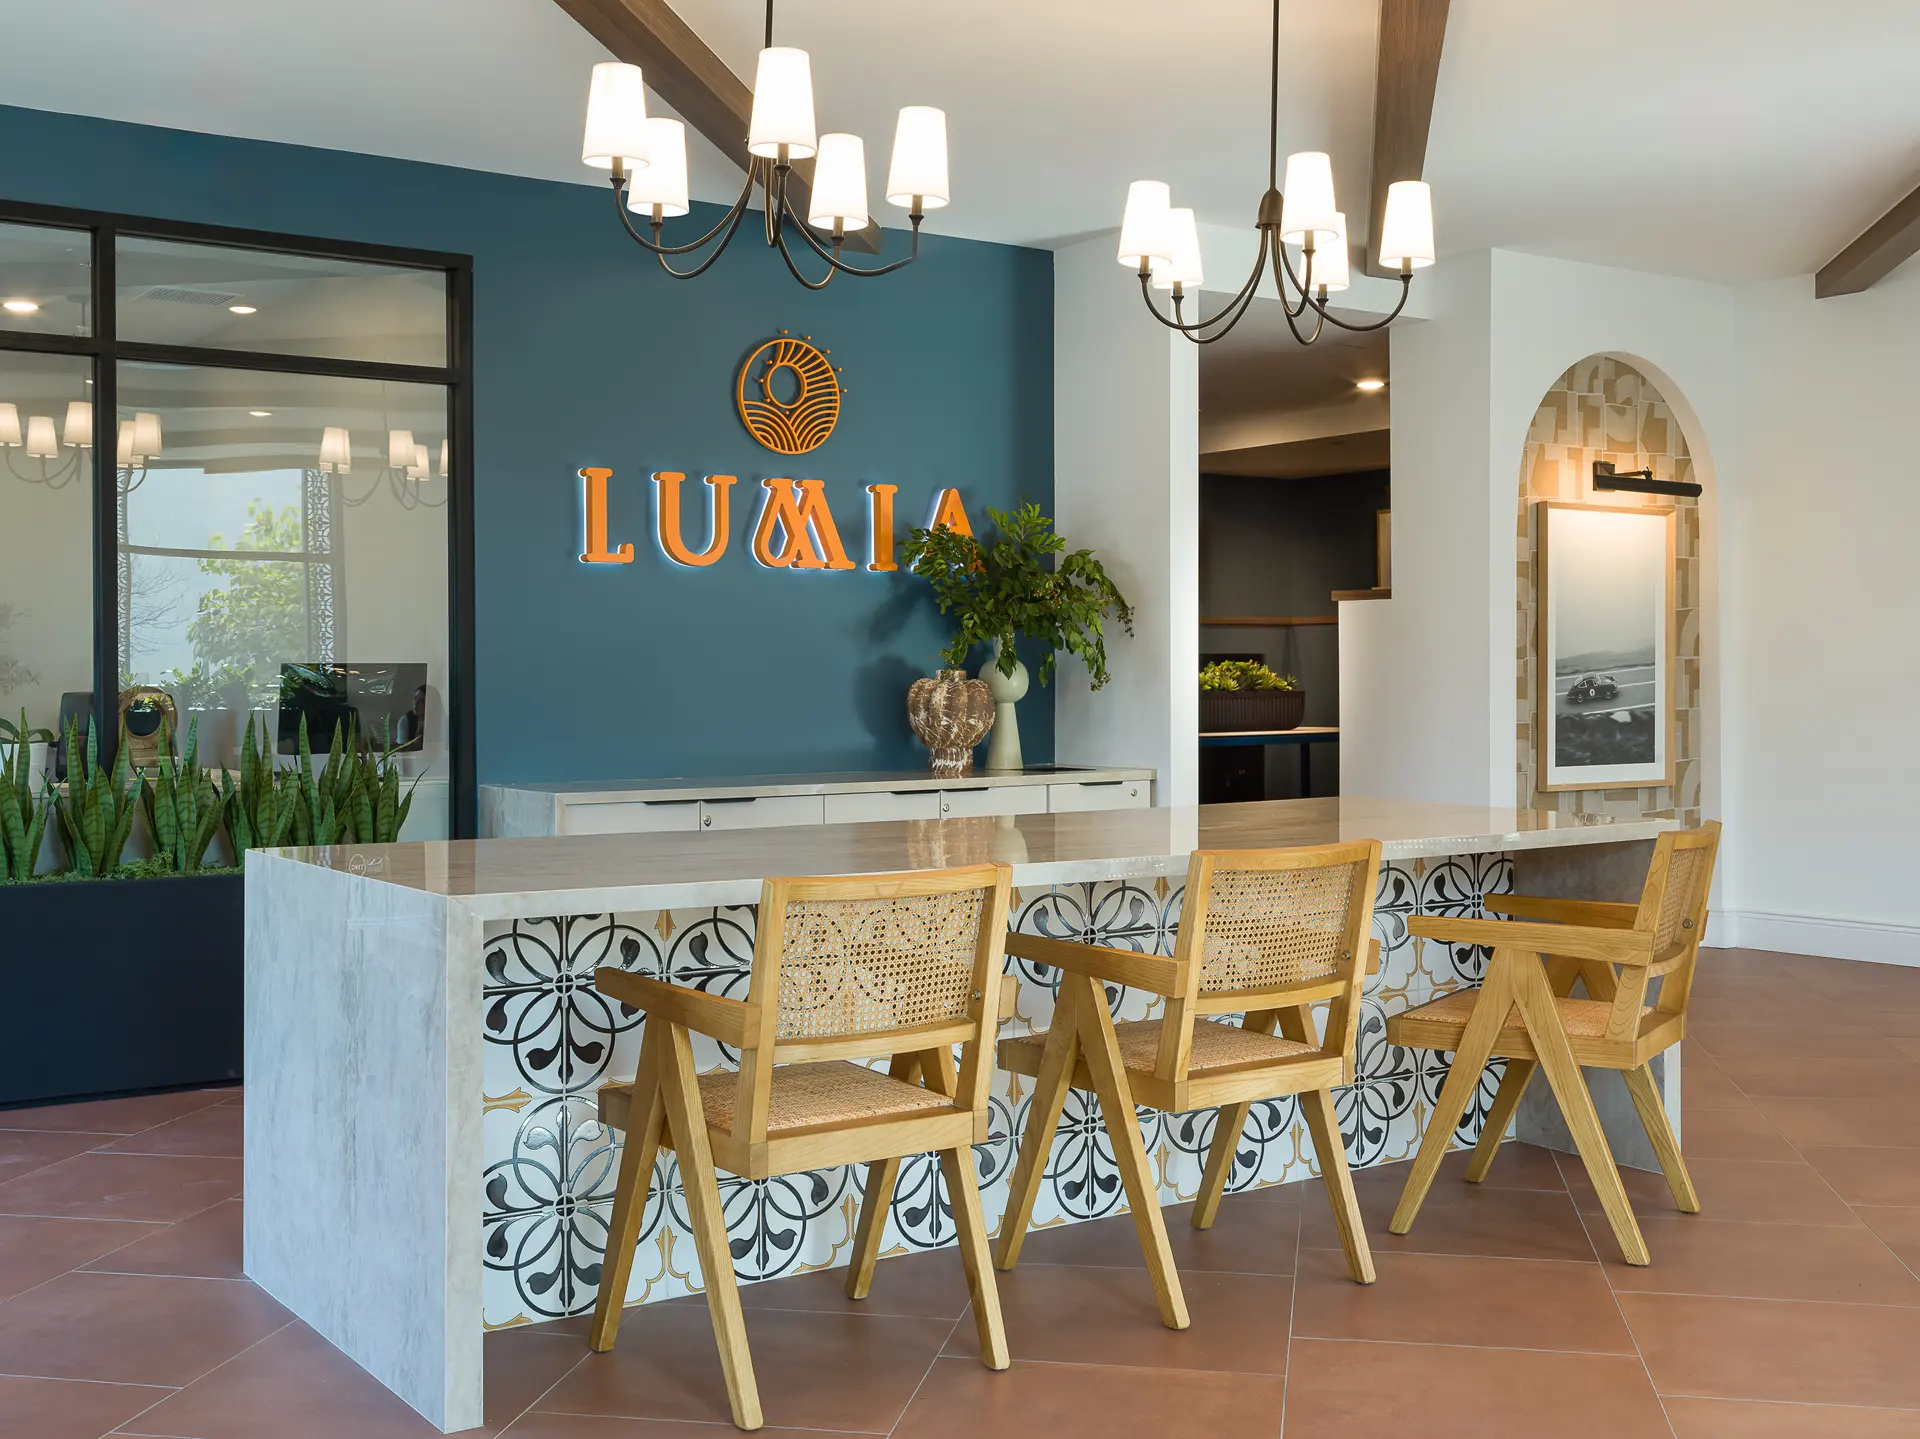
Level Up Interiors installations include Lumia, a multi family community in Azusa, California, and Urbane, a student living property in Tucson, Arizona.
By the Level Up Interiors team. Published 2026-10-10.