Step 1: Set the business goal before the look
Read more
The first design decision is not color, furniture or lighting. It is the business reason the interior exists. A leasing office needs to support tours and staff workflow. A student housing lounge needs to work for daily use, study, social time and turnover. A senior living lobby needs to feel welcoming while supporting residents, families and staff.
Clear goals keep the team from treating every space as a blank canvas. They also help owners make faster decisions when options compete. A finish may be beautiful but wrong for the maintenance plan. A furniture layout may photograph well but create poor circulation. A dramatic light fixture may work in a hospitality venue but feel out of place in an active adult clubhouse.
The strongest brief names the audience, the operating needs and the level of investment the space must carry. With those written down, every later choice has something to be measured against.
Step 2: Research the users and the comparable properties
Read more
Research comes before selection. The team should understand comparable properties nearby, the likely resident, student, senior or guest profile, and the type of use each room must support. The aim is not to copy competitors. It is to learn what the market already expects, where it is overbuilt and where the project can stand apart.
For multi family communities, research shows which amenities residents use daily and which are overbuilt for the likely renter. For student housing, it shows how study, lounge and social areas should balance privacy and energy. For senior living and active adult communities, it sharpens decisions about comfort, visibility, lighting and how much hospitality influence residents want. For restaurants and hotels, it connects the guest experience with the way service actually moves through the room.
The output of this step is a short brief: target user, comparable properties reviewed, what to match, what to avoid and the direction for the mood board.
Step 3: Program each room around actual use
Read more
Programming is the bridge between the owner goal and the floor plan. It defines what activities belong in each space, how many types of users may be there at once and what support functions are needed nearby. A room that is called a lounge may also need to support tours, waiting, coworking, resident events or staff reset. Those uses cannot all be solved with the same layout.
Good programming separates primary use from occasional use. The primary use should drive the room. Occasional uses should be supported without weakening the main function. A clubroom that is always set up for a rare event may feel empty on ordinary days. A coworking area that ignores acoustics, power and privacy may become a pass-through instead of a working space.
This is where trade-offs become visible. More open space can create energy, but it may reduce comfort for longer stays. More built-in elements can feel polished, but they can limit future changes. More furniture can increase choice, but it can also crowd circulation and make cleaning harder.
Step 4: Test the layout before finishes take over
Read more
Space planning should be tested in plan, elevation and, when useful, rendering before the team becomes attached to finishes. Circulation, sightlines, furniture clearances, staff paths, power needs and focal points all need review. A beautiful material palette cannot fix a room that does not work.
In a leasing setting, the path from arrival to conversation to tour should feel natural. In student housing, shared rooms need zones that allow people to be together without forcing one kind of behavior. In senior living and active adult spaces, transitions should be easy to read and comfortable to move through. In hospitality, seat count, server paths and the view from each table all matter.
Testing also reveals coordination needs. Lighting locations, electrical plans, ceiling features, millwork, wall blocking, signage, technology and furniture layouts affect each other. When those decisions are made together, the drawings become a clearer tool for bidding, construction and procurement.
Step 5: Select materials for use, maintenance and mood
Read more
Commercial materials have to carry more than a style direction. Flooring, wall finishes, ceiling treatments, upholstery, table surfaces and decorative elements all need to match the way the space will be used. The right choice balances durability, replacement logic, cleanability, comfort and the tone the owner wants the property to project.
Material decisions also affect operations. A finish that looks refined but requires special maintenance may not suit a high-use amenity. A pale fabric may be appropriate in one model home setting and impractical in a busy shared lounge. A hard surface may be durable but too loud if the room already has high ceilings and active use.
The goal is not to choose the toughest material everywhere. It is to put durability where it matters, softness where it supports comfort and visual weight where the room needs identity.
Step 6: Plan FF&E alongside the drawings
Read more
Furniture, art, accessories and selected equipment should be planned while layouts and construction documents are still being drawn. Furniture sizes drive outlet and data locations, wall blocking for art and wall-hung pieces, clearances and lighting focus. Leaving FF&E until the drawings are finished usually means compromises: a sofa that blocks an outlet, art with no blocking behind it, a dining table that crowds an accessible route.
Selections should respond to use as well as look. A lounge chair suited to a restaurant may not survive student housing turnover, and a dining chair for senior living needs arms and a seat height that make standing up easy. Once items are selected, procurement takes over: quantities, approvals, lead times, freight, storage and installation planning. The FF&E procurement and installation articles cover that process in detail.
Step 7: Coordinate construction, then install and open
Read more
The last stretch shows whether earlier decisions were documented well. Construction drawings and specifications, answers to contractor RFIs, submittal reviews, site walks and documented revisions keep design intent connected to what is being built. Decisions that were never put on paper end up being made in the field, under schedule pressure, by people who were not in the design meetings.
Installation is a coordinated site activity rather than a delivery. Access, elevators, staging, protection, assembly, placement, debris removal and punch review all need a plan. Designers on site set final placement, hang art and style the room. Opening readiness is the final test: the leasing team can run a tour, residents can use the clubroom, staff can serve the dining room.
Where Level Up Interiors fits
Read more
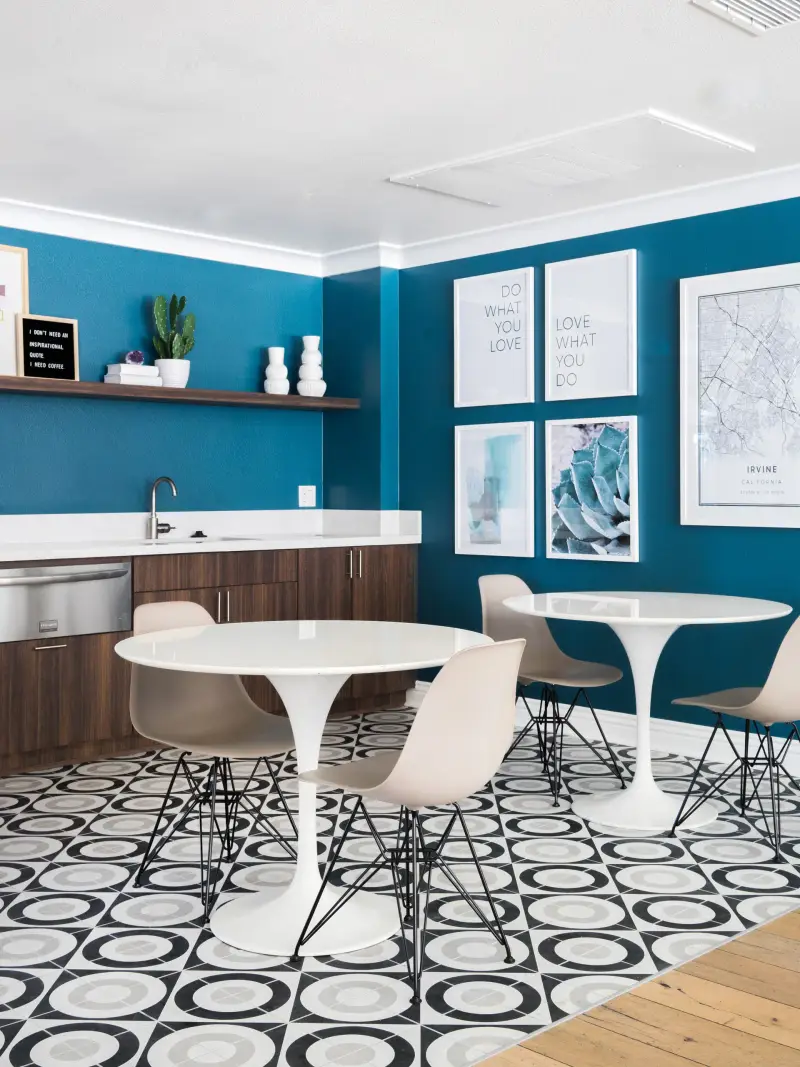
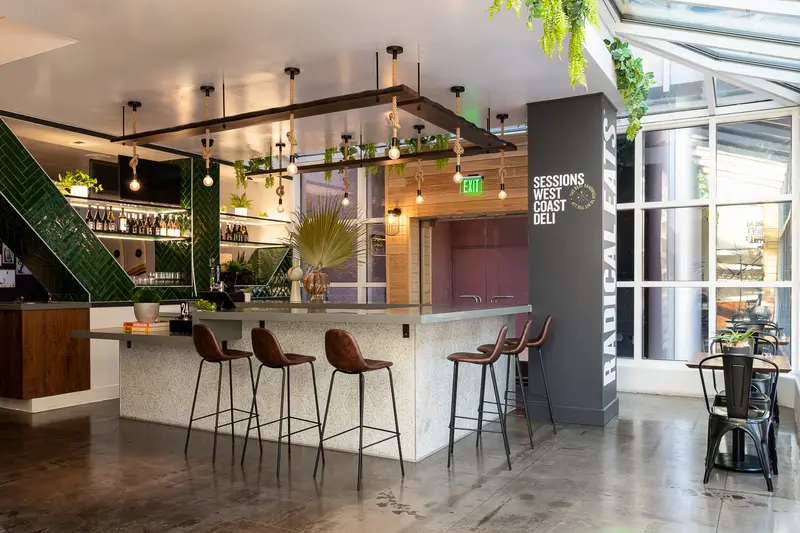
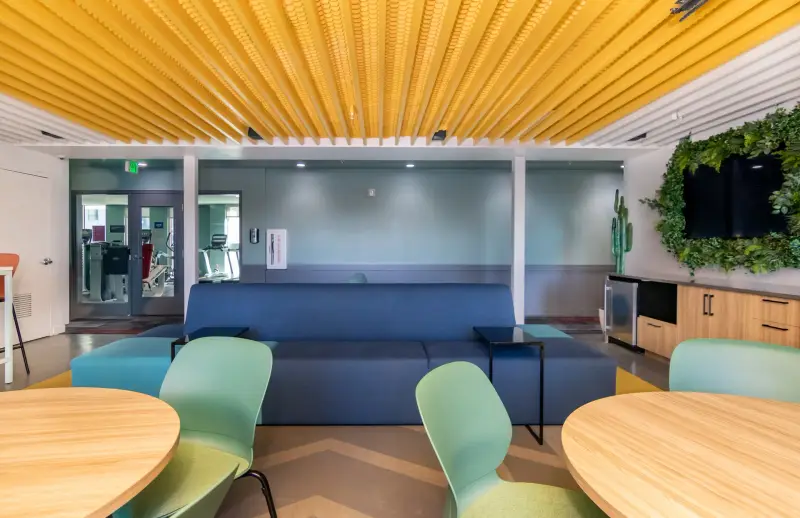
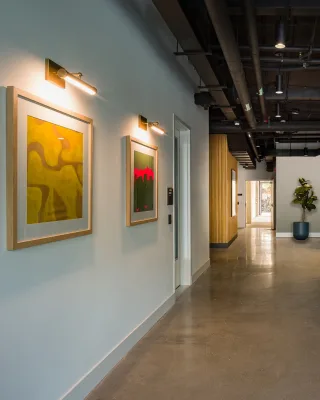
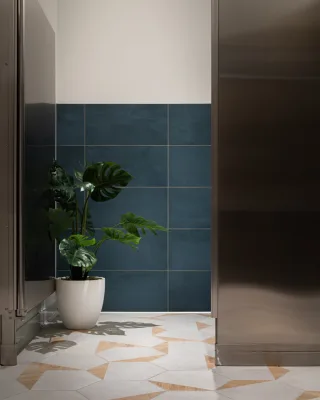
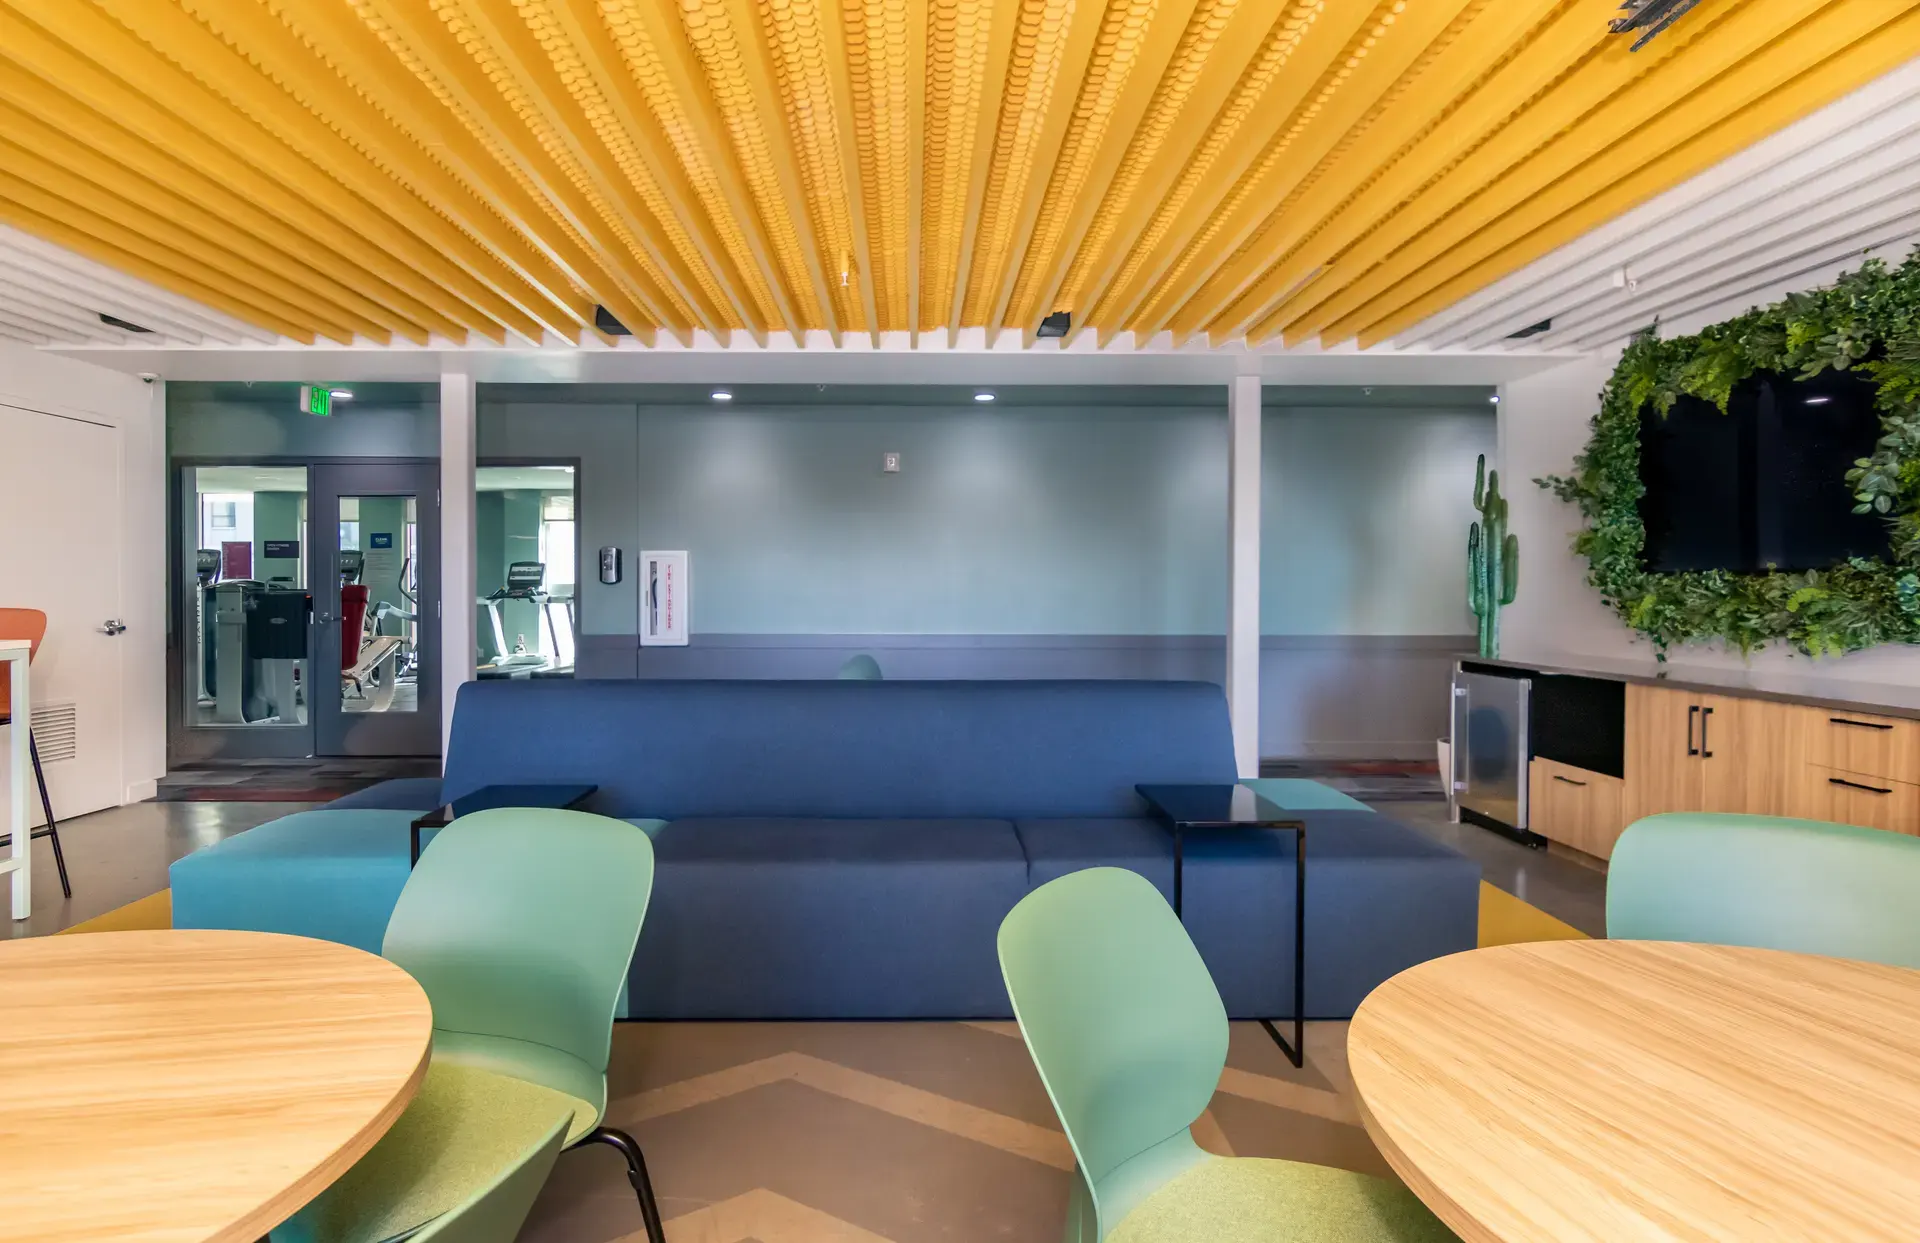
Level Up Interiors designs and furnishes commercial interiors for developers, builders and property managers. Completed work includes Calypso, a multi family community in Irvine, California; Sessions at South Coast Plaza in Costa Mesa, California, a hospitality venue; and Urbane, a student living property in Tucson, Arizona.
By the Level Up Interiors team. Published 2026-10-10.