Step one: define the resident and study the comps
Read more
Write down who the community is being built for: age range, household types, how many residents are likely to work from home, pet ownership, car use and price point. Then visit or research the competing properties in the submarket. Note what they offer, what looks dated and what local managers say residents ask for.
The output is a short list of amenities the property must match, amenities where it can stand out, and amenities it can skip. Which features residents actually use is covered in our article on apartment amenities renters use; here the point is to settle the list before anyone draws a room.
For a renovation of an occupied community, add a third input: the current residents. Staff know which rooms are busy, which are avoided and what residents complain about, and a short resident survey or a few weeks of watching use patterns will often reveal more than a market study. Renovations also need a phasing plan so residents keep access to mail, fitness and leasing while work is underway.
Step two: write the program and test the adjacencies
Read more
A program assigns each space a primary activity, an expected number of people at a busy hour, hours of access and who supervises it. A clubroom might be social in the evening and quiet work space during the day. A fitness room might be open around the clock through access control.
Adjacency comes next. Group spaces that share traffic, such as the leasing office, mail and package area, and a lobby lounge, near the main entry and parking. Keep loud uses away from quiet ones and away from units above or beside them. Put pool-adjacent rooms where wet traffic will not cross carpet. Sketch the tour path and the resident path separately, because they are rarely the same, and make sure staff can see the busiest rooms from where they work.
Step three: zone for loud, quiet and in between
Read more
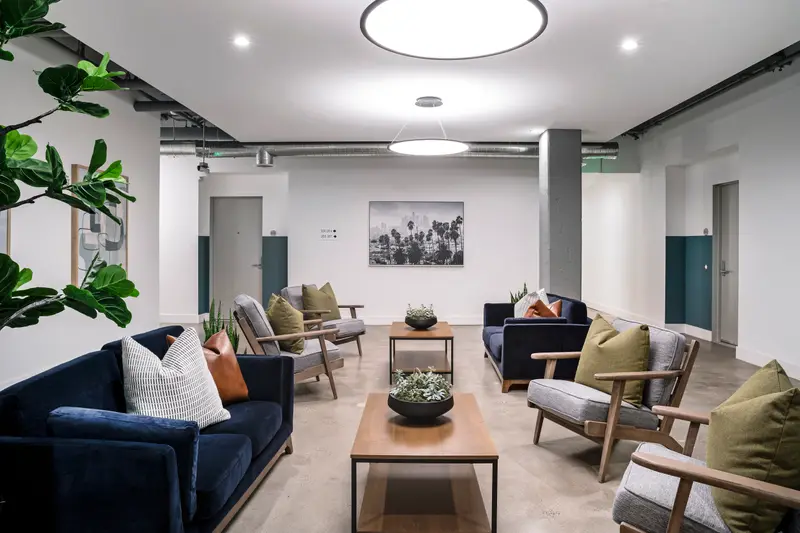
Within each room and across the amenity floor, residents need a choice of exposure. Some want a seat in the middle of the activity, others want a corner where they can take a call or read. A plan that offers both in the same general area gets more use than one that forces everyone into a single setting.
Zones can be set with walls and glass where sound control matters, and with rugs, ceiling changes, lighting and furniture orientation where it does not. Acoustic treatment deserves early attention. Hard floors, glass and high ceilings look clean in renderings and can make a room too loud to use, and fixing that after opening is harder than planning absorptive surfaces from the start.
Step four: plan furniture with anchors and movable pieces
Read more
Flexible furniture lets a room serve events, coworking and casual use, but a room where everything moves tends to look disordered within weeks. Anchor each zone with heavier pieces, such as a large table, a built-in banquette or a sectional, and keep movable chairs and side tables for the parts of the room that genuinely change.
Select furniture for the posture of the activity. Laptop work needs table height seating with arms or firm support. Lounging needs depth. Event seating needs to stack or nest and be stored nearby. Specify commercial-grade frames and performance fabrics in the places that will see the most wear, and plan a storage room for extra chairs and event supplies so they do not end up in the corners of the amenity space.
Step five: choose materials and lighting for the way rooms are used
Read more
Choose materials by the wear each zone will see. Entries and pool-adjacent paths need slip resistance and walk-off mats. Kitchens and dining areas need surfaces that resist stains and heat. Fitness floors need impact resistance. Corners and corridors that carts and furniture pass need wall protection that does not look institutional. Ask how each finish is cleaned, repaired and replaced before approving it.
Lighting should be layered so the property team can set different scenes: brighter for tours and morning work, warmer and lower for evenings, and adjustable for events. Glare on screens and laptops, dark corners and harsh overhead light are the usual reasons residents leave a lounge. Put lighting controls where staff can reach them and keep them simple enough that scenes actually get used.
Step six: coordinate technology and access control early
Read more
Power, data, screens, speakers, access control readers, cameras and package systems all affect drawings and furniture layouts. Locate floor outlets under large tables, outlets at lounge seating and mounting for screens before the electrical plan is finalized. Late changes usually mean exposed cords, poorly placed devices and furniture pushed out of position.
Access control shapes how a room operates. Decide which rooms are open around the clock, which are reservable, and which close when staff leave, then design entries, sightlines and camera coverage to match. Reservable rooms need a way to separate private use from general access.
Step seven: add art and brand, then open in stages
Read more
Art and brand elements make a community feel specific, but residents live with them long after leasing. Favor local references, scale that suits the room and pieces that will not look dated quickly, and avoid turning the amenity floor into a sales display.
Before the grand opening, run a soft opening. Let staff and early residents use the spaces, watch where furniture migrates and where people avoid sitting, and adjust layouts, lighting scenes and signage. A short punch list at this stage costs far less than a redesign later. The clubroom, which carries the most programming in many communities, is covered separately in our clubhouse design article.
Our Multi Family work
Read more
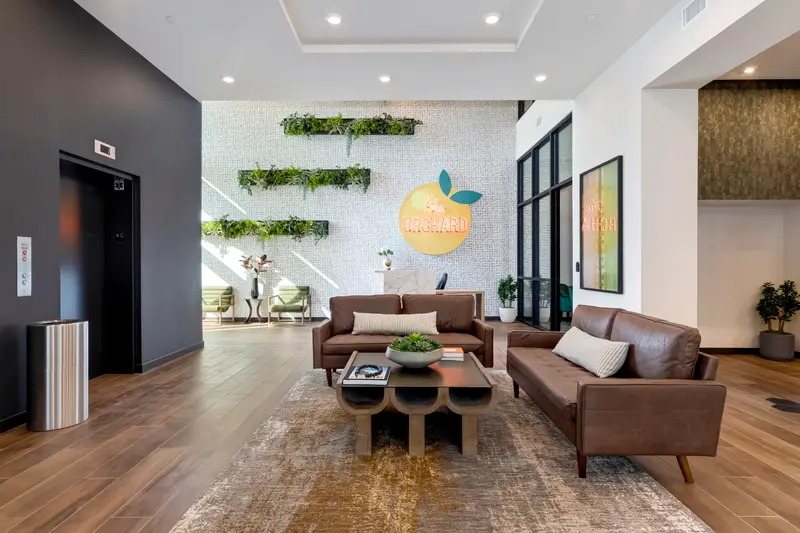
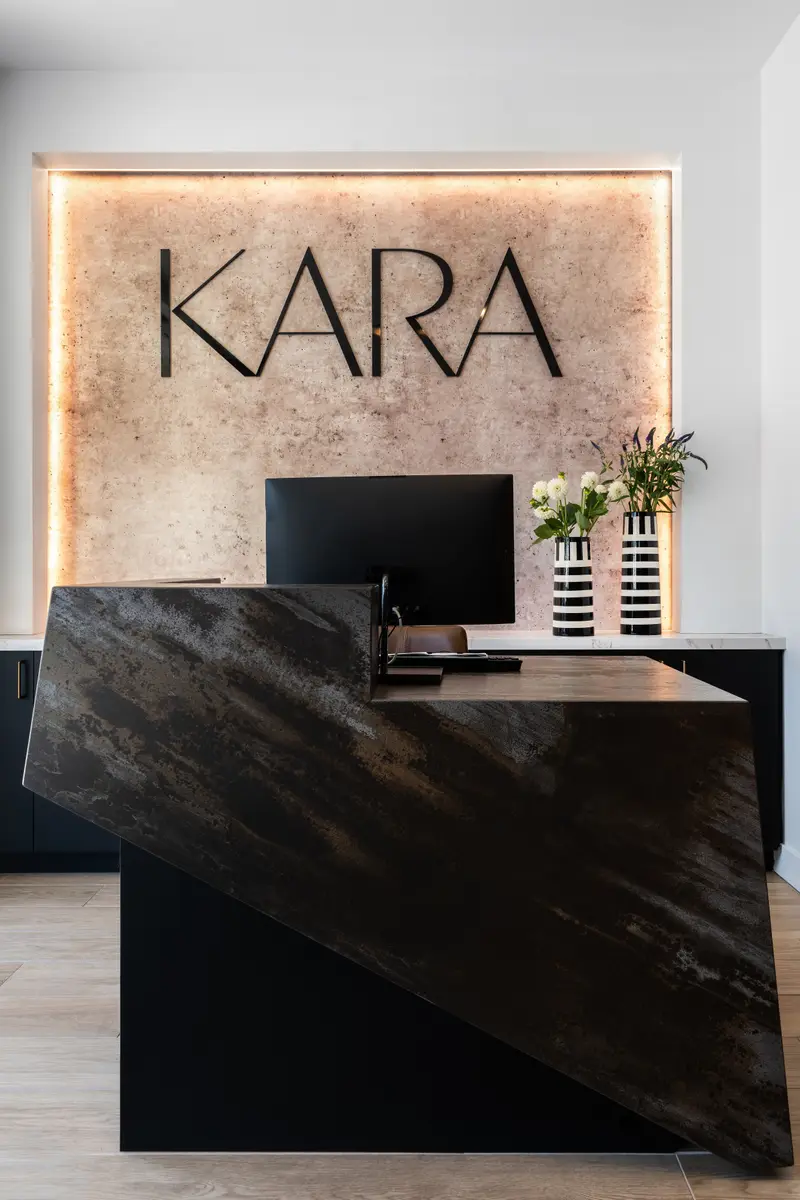
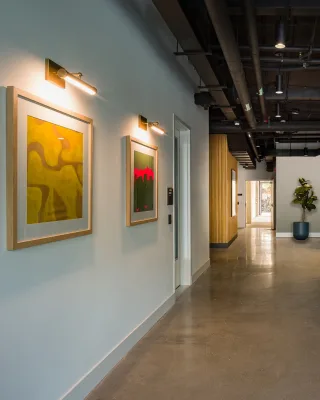
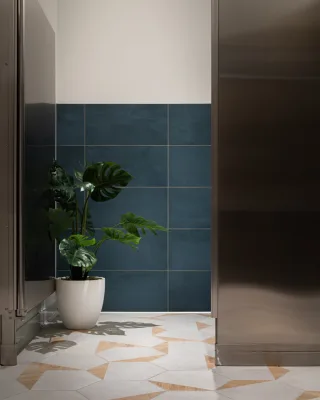
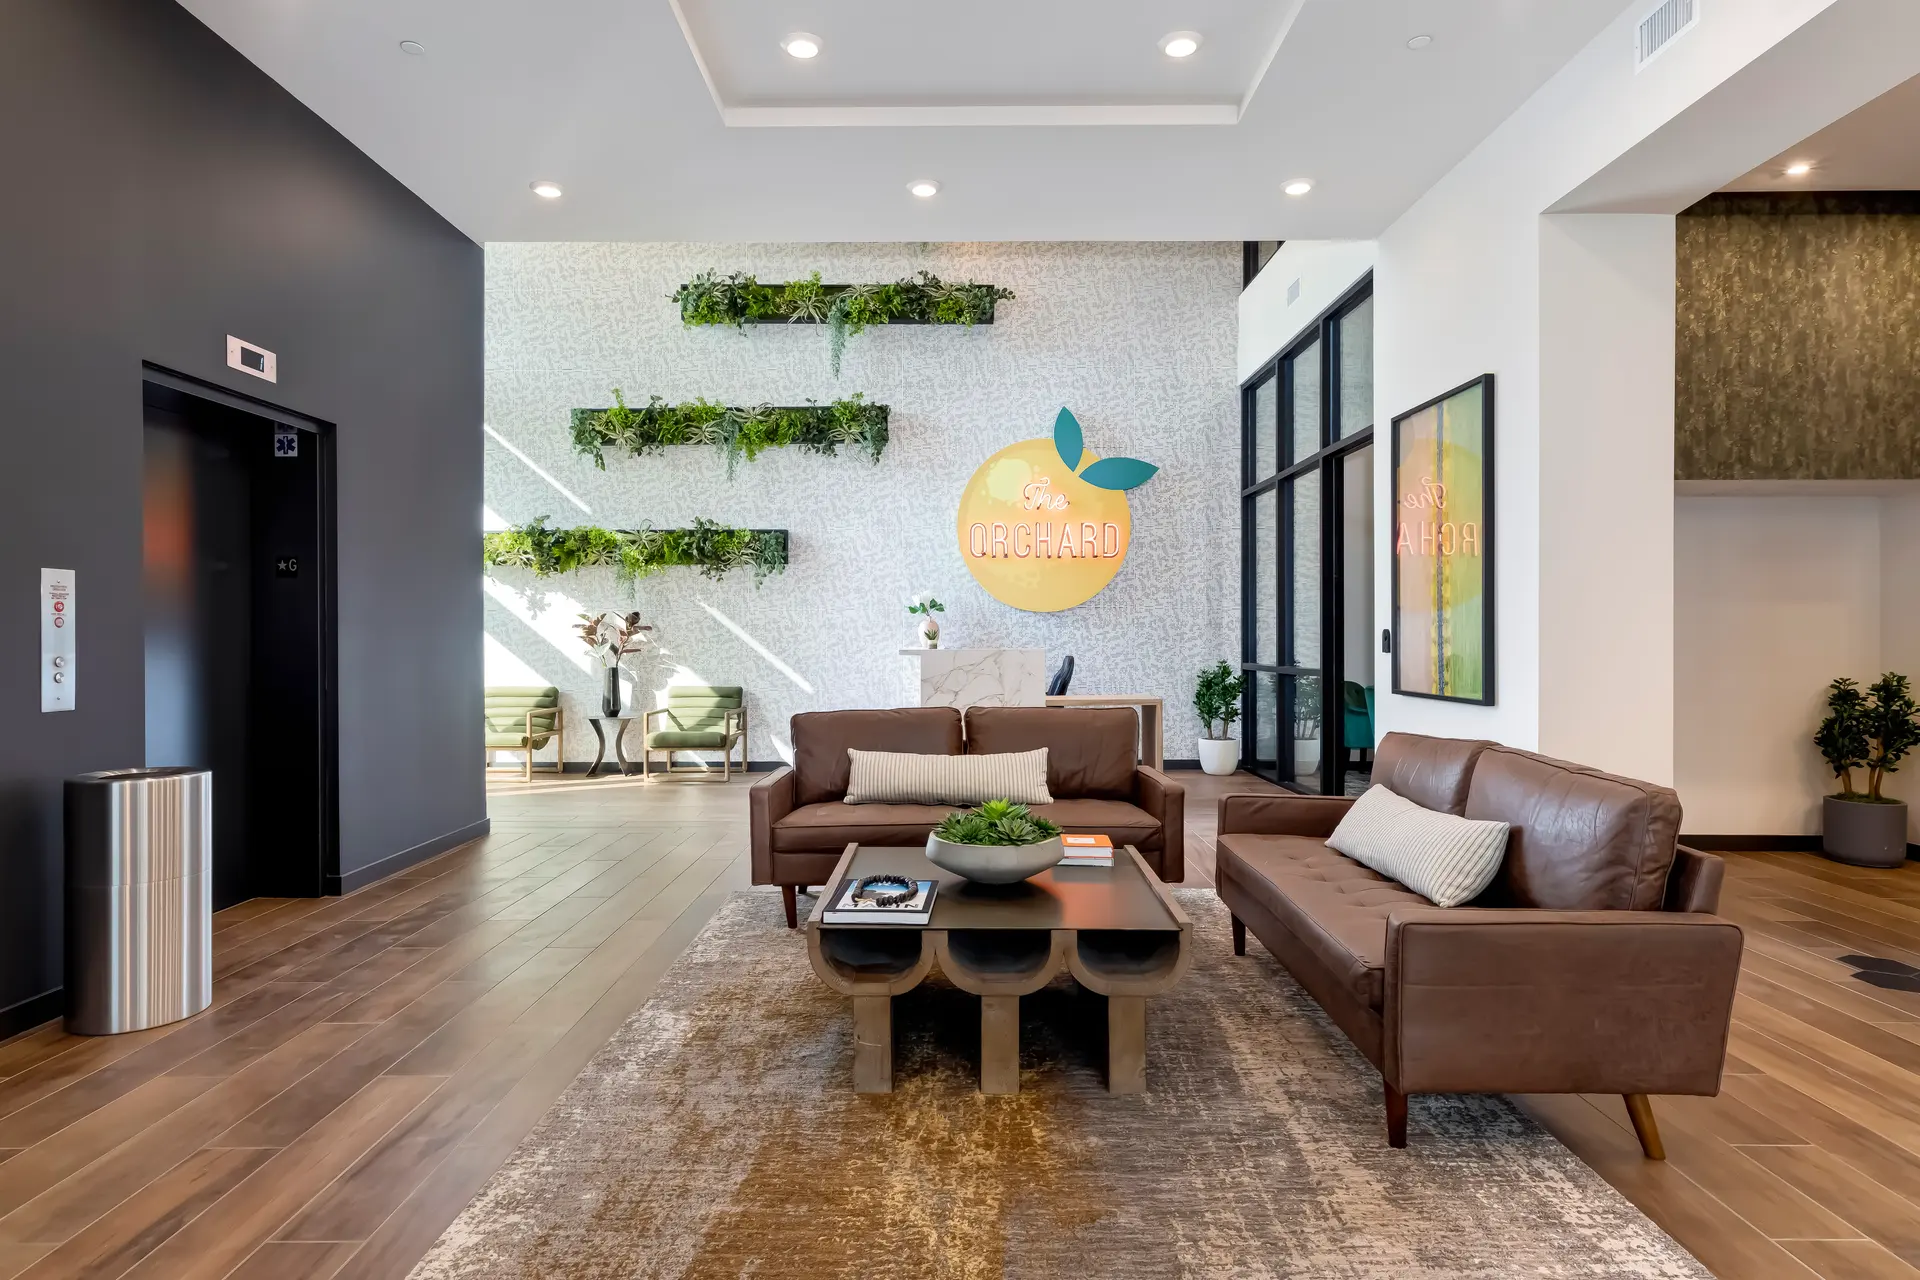
Level Up Interiors has completed multi family communities including The Orchard in Azusa and Kara and Western Ave in Los Angeles. Photos are in the multi family gallery.
By the Level Up Interiors team. Published 2026-10-10.